Payment without Security code
Payment without Security Code (CVC), is not a standard practice and can only be approved in exceptional cases. The below flow requires approval from Nets. Contact your account manager to enable this option.
Initial transaction of Easy Payment flow
In the initial transaction of Easy Payment flow, PiA SDK should be started as similar as
the basic payment flow. Then, Easy payment can be triggered if the user selects to save the card
for the future usage during the card entry process. Then, SDK will pass the boolean parameter
saveCard with true(by default, it is set to false to trigger the basic
payment flow as mentioned above) in the register call to notify the app to go ahead with the Easy payment flow and
you need to make the transaction registration according to the sequence diagram above.
After your app gets the successful result from PiA SDK, you can start Netaxept call(s) to proceed the transaction and fetch and store token in your backend which will be utilised for the subsequent transaction of Easy Payment.
Subsequent transaction of Easy Payment flow
In the subsequent transaction of Easy payment, you can follow the same way as the initial transaction to start PiA SDK and make sure:
- you pass a
non-nilcard token when instantiating the PiA SDK - the register call from your backend contains the parameter
recurringUse3DS = truein order to trigger 3DSecure authentication as per PSD2/SCA requirements.
Important Note: If you wish to skip security code entry, you need approval from your acquirer.
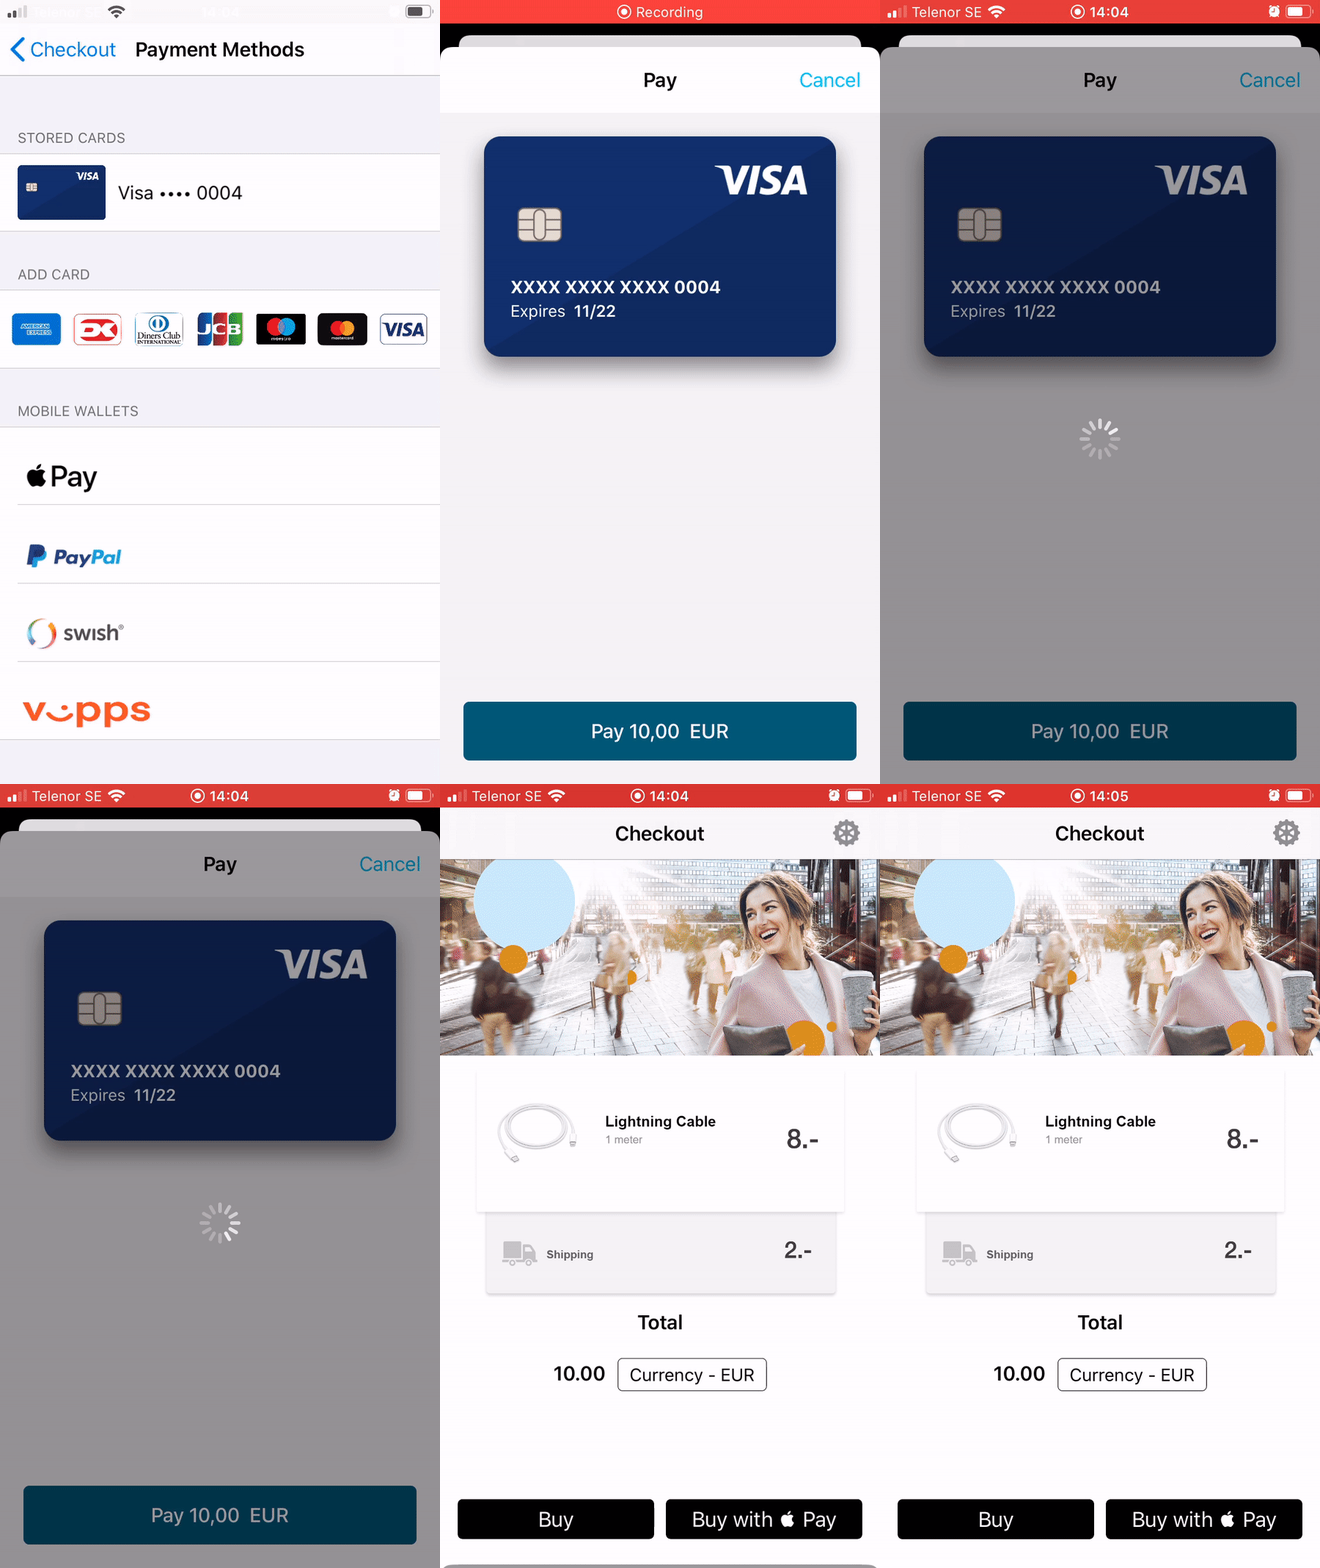
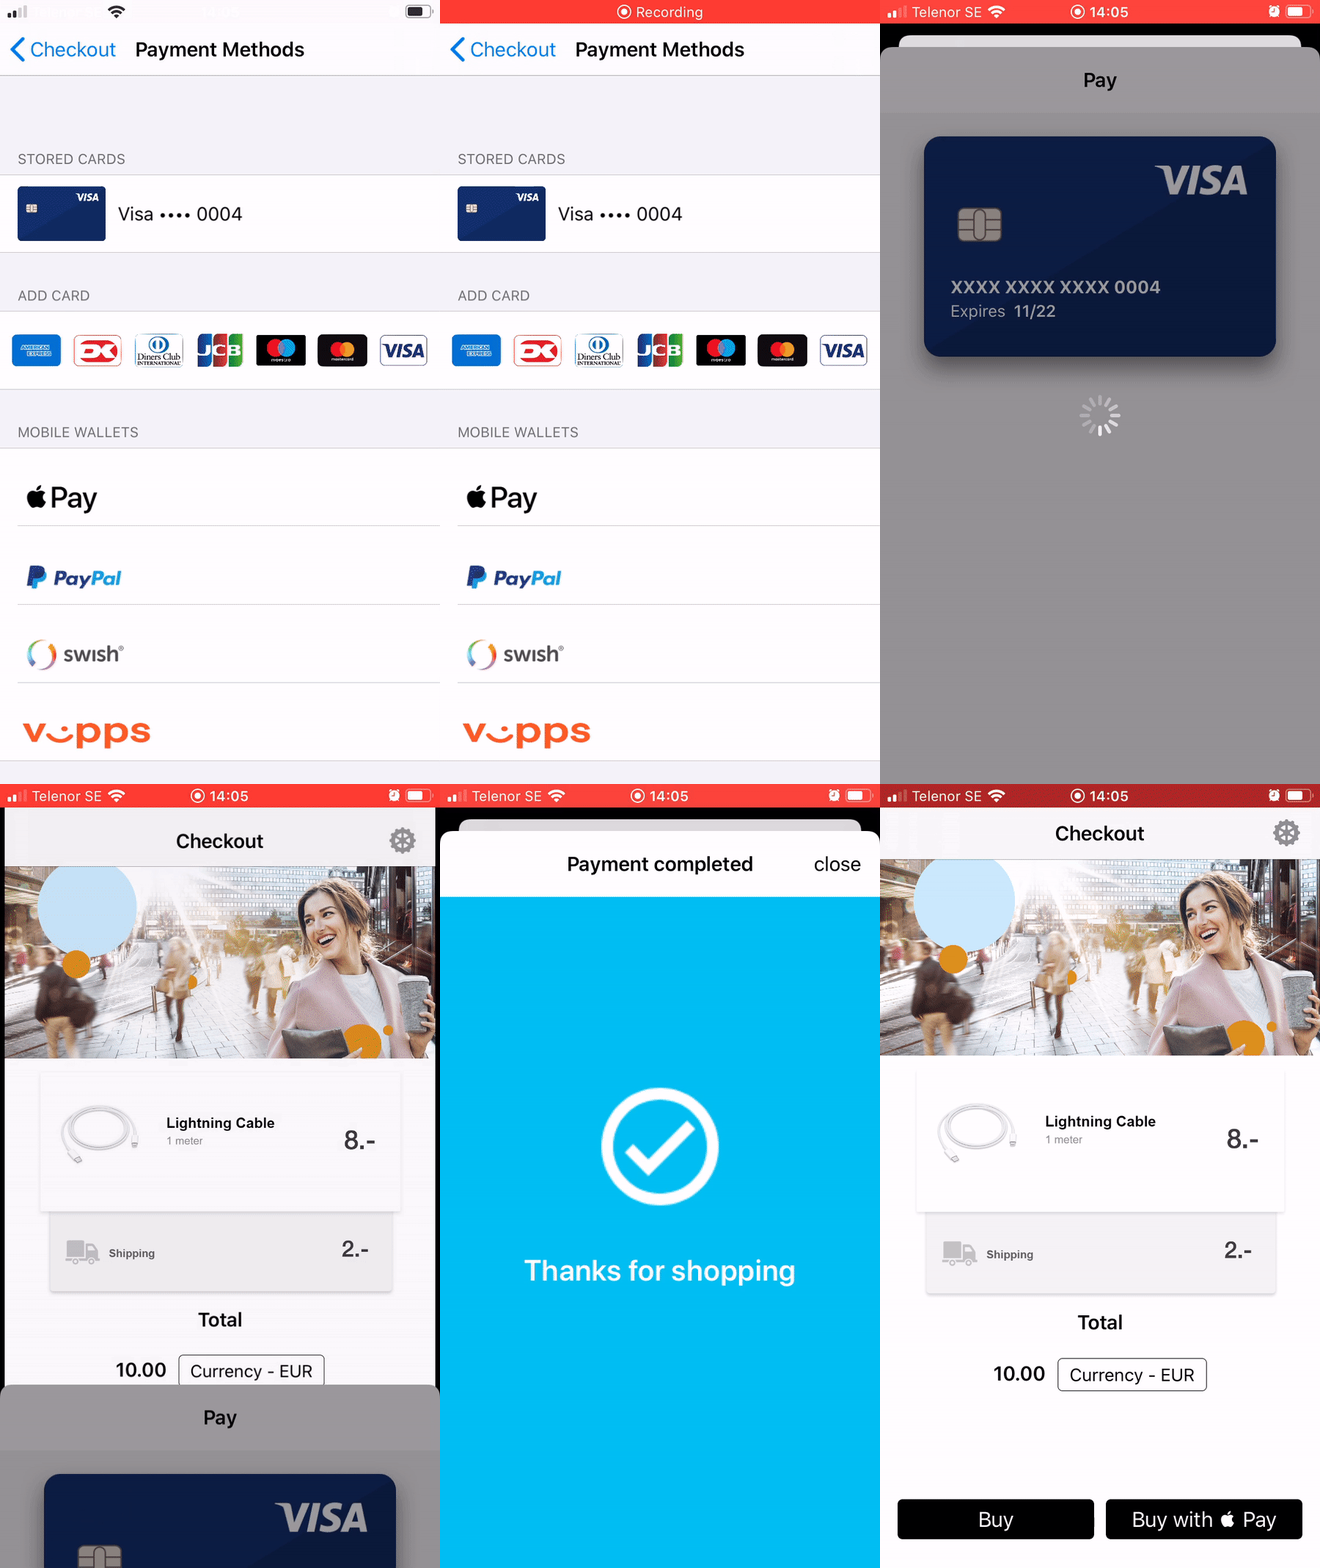
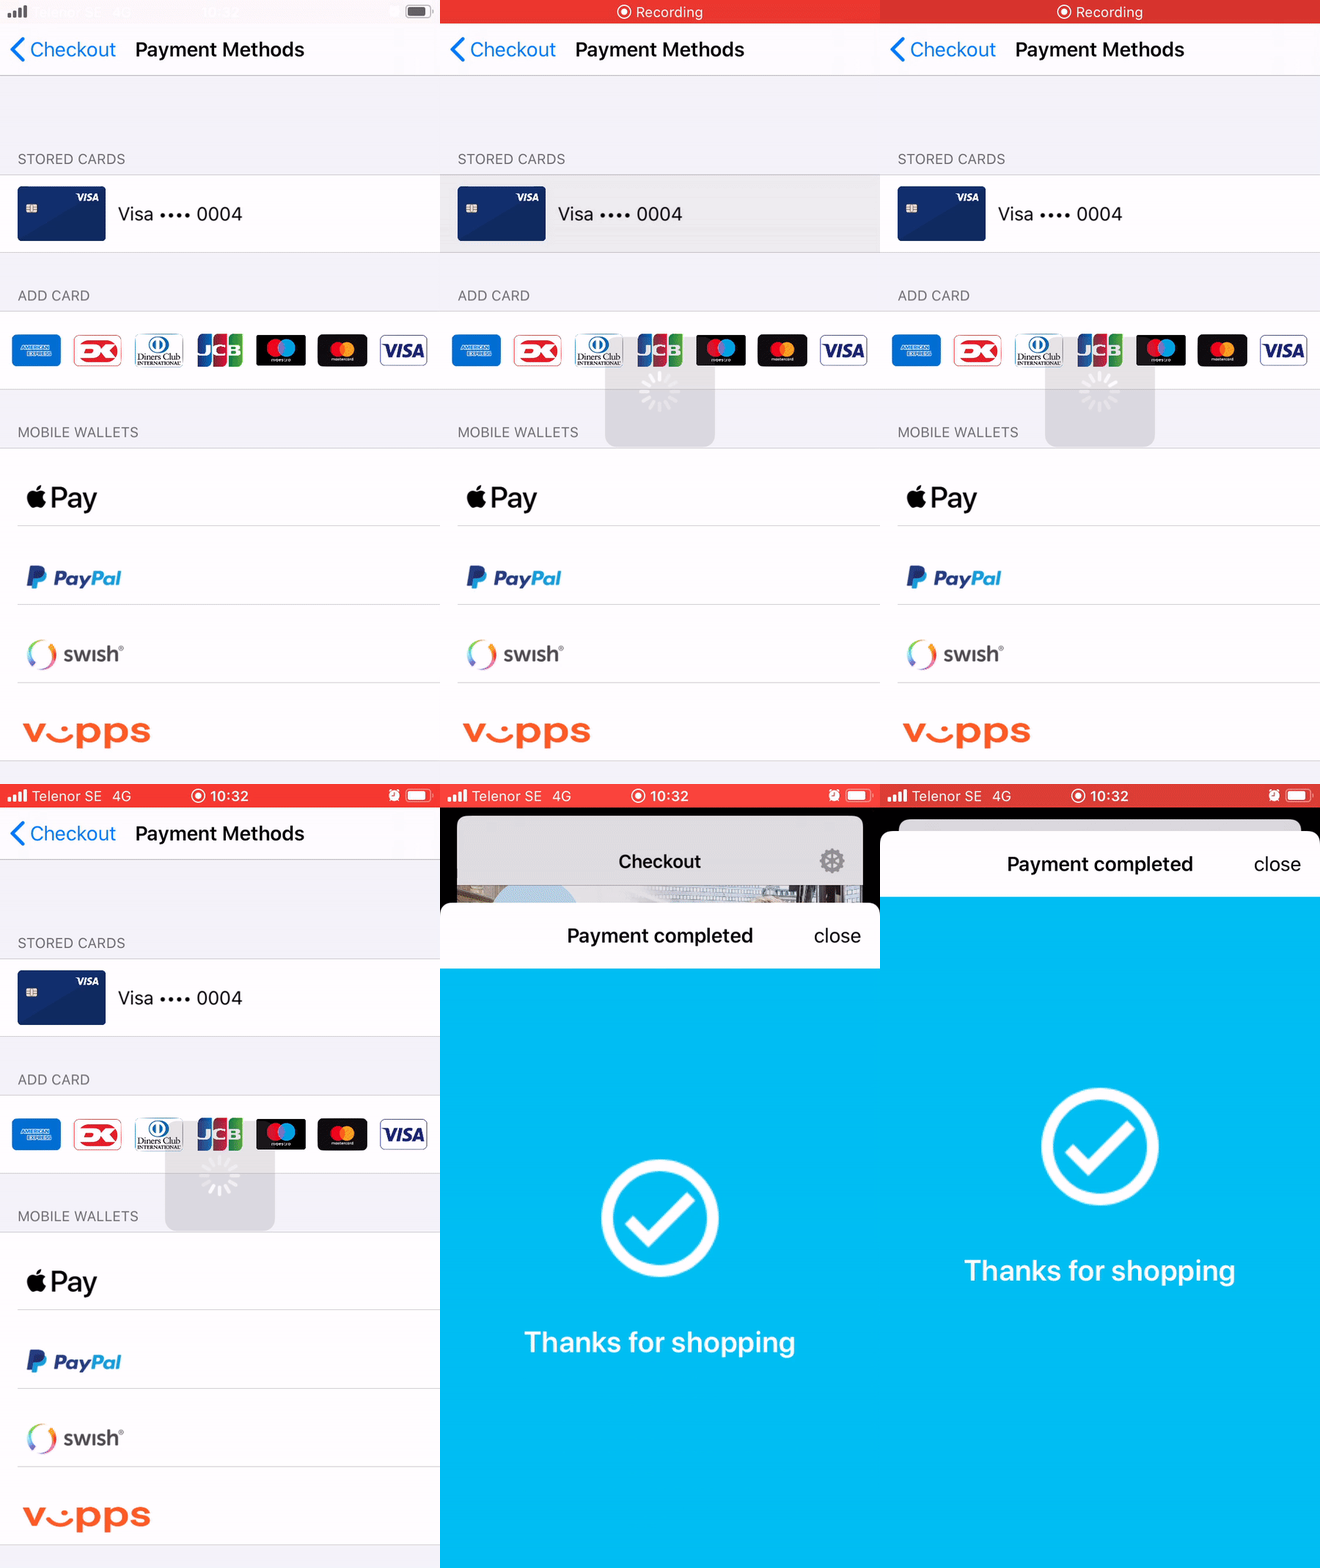
The iOS SDK supports 3 different ways of presenting subsequent payments to the user:
| Option 1 | Option 2 | Option 3 |
|---|---|---|
 |
 |
 |
Option 1: Require user confirmation: Present a card view with entry field for CVC (if CVC is required) and a “Pay XX.XX” button to confirm payment
let confirmationPrompt = TokenizedCardPrompt.forAmount(
                     UInt(orderDetails.amount.totalAmount),
                     currency: orderDetails.amount.currencyCode,
                     shouldPromptCVC: true/false)
Option 2: Skip user confirmation - with SDK UI: Present a card view with an activity indicator while processing payment without requiring user confirmation
let confirmationPrompt = TokenizedCardPrompt.none
For option 1 and 2, once the confirmationPrompt is set, you can generate the PaymentProcess object and continue.
let tokenPaymentProcess = PaymentProcess.tokenizedCardPayment(
                withMerchant: merchantDetails,
                token: card.tokenId,
                expiryDate: card.expiryDate!,
                cardDisplay: cardDisplay,
                confirmationPrompt: confirmationPrompt,
                registrationCallback: { [unowned self] callback in
                    //Make the registration call and return the callback
                })
Preset the controller and handle the callbacks
PiaSDK.controller(
    for: tokenPaymentProcess,
    success: { piaController, transactionId in  },        // Commit the transaction with your merchant backend
    cancellation: { piaController, transactionId in },    // User canceled, rollback the transaction
    failure: { piaController, error in}                      // Rollback transaction, check error object for detail.
)
Option 3: Skip user confirmation - without SDK UI: Process payment staying in customer’s view controller (presenting 3DS authentication webpage on the customer’s controller if necessary)
Initiate the payment by making the registration call and then call the below API. Make sure to handle the respective callbacks.
PiaSDK.initiateCardPayment(
        with: PaymentProcess.tokenizedCardExpressCheckout(
            from: self.navigationController,
            merchant: self.merchantDetails,
            transactionID: transaction.transactionId,
            redirectURL: URL(string: transaction.redirectOK)!
        ),
        success: { piaController, transactionId in  },        // Commit the transaction with your merchant backend
        cancellation: { piaController, transactionId in },    // User canceled, rollback the transaction
        failure: { piaController, error in}                      // Rollback transaction, check error object for detail.
    )
Note:
- Options 2 and 3 are not applicable if CVC is required. Approval must be granted by your acquirer.
- Netaxept backend integration tips can be found in 5.4 Backend Tips, Registering Easy Payment section
 1.4. Payment Without Security Code Reference